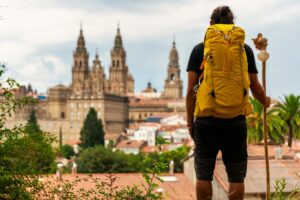
Doing the Camino with diabetes (type 1 or type 2) is entirely possible, but it cannot be improvised. The real challenge is not “walking”, but keeping your blood glucose stable while the following are constantly changing: schedule, intensity, rest, hydration, food and even temperature.
In this guide, we will provide you with a realistic and practical plan so you can complete your pilgrimage safely: what to review before setting off, how to organise your daily routine, what to carry in your backpack, how to act in the event of hypoglycaemia or hyperglycaemia, and how to choose a route based on infrastructure.
- Important note: this does not replace your endocrinologist. The aim is for you to arrive at your appointment with a clear list of decisions and scenarios so your treatment plan can be properly adjusted.
Índice de contenidos
- 1 Before you begin: prepare your “Camino plan” with your medical team
- 2 Daily routine on the Camino: the “5-moment method”
- 3 Glucose targets for walking and quick decisions (no guesswork)
- 4 How to prevent hypoglycaemia during a stage: carbohydrates per hour and real strategy
- 5 Hyperglycaemia and ketones: when to stop, correct and seek help
- 6 Feet, blisters and neuropathy: this is where the Camino is won (or lost)
- 7 Eating on the Camino: breakfasts, bars and simple menus
- 8 Which route to choose if you have diabetes: intensity, access and “easy living”
- 9 Technology (CGM/pump) on the Camino: how to make the most of it
- 10 Warning signs: when to stop the stage (no pride involved)
- 11 Mini-FAQ (quick answers to common questions)
Before you begin: prepare your “Camino plan” with your medical team
What you must review (without fail) 2–4 weeks beforehand
- Medication/insulin plan for prolonged exercise: walking 5–7 hours a day for several days is not simply “doing sport”, it is endurance activity. In people with T1D, the strategy usually combines reducing insulin and/or consuming carbohydrates during exertion, as aerobic exercise tends to lower blood glucose.
- Foot assessment and neuropathy risk: if you have reduced sensation, deformities, poor circulation or a history of ulcers, the Camino can significantly increase the risk. Review your condition and ask for preventive guidelines and warning signs.
- Control targets and safety thresholds: agree on what to do with persistently high readings, when to check ketones, and when to stop a stage.
- Prescription and emergency plan: make sure you carry glucagon (injectable or nasal) and that your companion knows how to use it. The nasal formulation (e.g. Baqsimi) is a prescription-only medicine in the EU.
- Medical report and documentation: even within Spain it is useful: allergies, type of diabetes, treatment, sensors/pumps, emergency protocol and healthcare contact number.
Equipment checklist (with a “double supply” approach)
The usual recommendation when travelling is to carry twice the estimated amount of supplies (strips, sensors, spare parts, insulin, needles, etc.) and to divide them if you are travelling with someone, reducing the risk of loss or theft.
- 2 glucose meters (one as backup) or one meter + CGM, with batteries/chargers.
- Insulin and/or medication (double supply), needles/cannulas, extra adhesives, sensor dressings, alcohol wipes, sharps container.
- Ketone strips (urine or blood), especially if you have T1D or use a pump.
- Fast-acting glucose (tablets, gel, sachets) and slow-acting carbohydrates (bars, biscuits, nuts + a carbohydrate source).
- Foot care kit: blister plasters, tape/kinesiology tape, sterile needle (if you know how to use it), moisturising cream, antiseptic.
- Medical ID (bracelet/pendant) and a “I have diabetes” card.
Storing insulin and glucagon: what works on the Camino
One of the most common questions is “How do I store insulin on the route?”. For trips of less than 4 weeks, evidence indicates that many insulins can be kept at controlled room temperature (approx. 2–30 °C) for up to 4 weeks, avoiding extremes. Injectable glucagon usually tolerates moderate ranges, and nasal glucagon should be kept below ~30 °C, according to product information/travel guidelines.
In practice: use an insulated pouch, avoid direct sunlight and never leave it “baking” inside a car or in a sunny window.
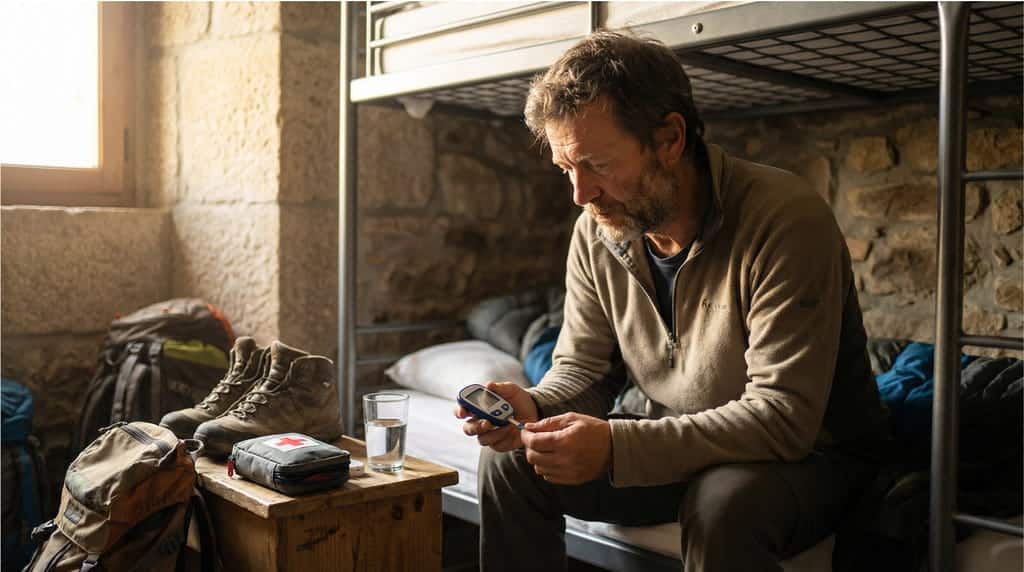
Daily routine on the Camino: the “5-moment method”
The Camino rewards consistency. If you repeat the same pattern of monitoring, eating and reacting each day, your control improves. We suggest a simple routine in 5 moments:
- Before breakfast (and before medication): glucose check, hydration (300–500 ml of water) and a quick foot check.
- Before setting off: glucose check and decision: “Do I start now, eat something, or adjust?”
- During the stage: every 60–90 minutes (or according to CGM): glucose/trend + planned small intake.
- On arrival: glucose check, rehydration, gentle stretching, foot care and recovery meal.
- Before bed: glucose check, preventive adjustment if you had high activity (lows can occur hours later).
Several health services remind us that exercise can affect blood glucose even many hours later, and that reviewing and preventing delayed hypos is advisable.
Glucose targets for walking and quick decisions (no guesswork)
For long walking stages, it is usually safer not to set off “borderline”. A review of strategies in T1D recommends starting exercise with stable glucose approximately between 7 and 14 mmol/L (≈126–252 mg/dL) and without significant ketones, and taking extra carbohydrates if you are below certain thresholds.
Practical table “start / wait / correct”
| Reading (before walking) | What to do (guidance) |
| < 70 mg/dL (< 3.9 mmol/L) | Treat hypoglycaemia (15–20 g fast-acting carbohydrate), wait and reassess. Do not start the stage like this. |
| 70–100 mg/dL (3.9–5.6 mmol/L) | Take 10–20 g carbohydrate and reassess before setting off (especially in T1D). |
| 100–180 mg/dL (5.6–10 mmol/L) | Usual starting range. Set off, but plan intakes and monitoring. |
| > 250 mg/dL (> 13.9 mmol/L) | Check ketones (if T1D/pump user) and correct according to your plan. If ketones or symptoms are present, postpone/seek advice. |
For treating mild/moderate hypoglycaemia, many people use the 15–20 g fast-acting carbohydrate approach followed by rechecking.
How to prevent hypoglycaemia during a stage: carbohydrates per hour and real strategy
On the Camino, the most common mistake is not “forgetting sugar”: it is failing to have a repeatable strategy.
Basic rule (especially T1D): carbohydrates during exertion
During prolonged exercise, a common range to prevent hypoglycaemia is 30–60 g of carbohydrate per hour when circulating insulin levels are low; with high insulin levels, more may be needed (up to ~75 g/hour) if doses are not adjusted. This is not about eating without control: it is about planning and then personalising with your medical team.
If your stage is going to last 4–6 hours, think in terms of 30–45 minute “blocks”. For example:
- Every 45–60 min: 15–20 g (1 small gel, 3–4 glucose tablets, 200 ml of juice, etc.).
- If the stage includes a lot of climbing or it’s cold/raining: consider a small extra intake and monitor more frequently.
- If you’re trending down steadily and have reduced insulin: you may be able to space it out.
“Hypo on the route” protocol (no drama)
- Stop and sit down (avoid falls).
- 15–20 g fast-acting carbohydrate (tablets, gel, non-diet fizzy drink, juice).
- Recheck in 10–15 min. If still low, repeat.
- Once recovered: slow-acting carbohydrate if you still have distance to cover or it’s a long time until your next meal (biscuit/banana/bar).
Severe hypo: what your companion needs to know
If there is marked confusion, loss of consciousness or inability to swallow, do not force food. Administer glucagon as prescribed and call 112. The nasal option (e.g. Baqsimi) is authorised in Europe and designed for simple administration.
Hyperglycaemia and ketones: when to stop, correct and seek help
On the Camino, hyperglycaemia is usually caused by: dehydration, a developing infection (infected blister), eating more than planned without adjustment, or cannula/pump failure. In T1D, the danger is not a single high reading, but hyperglycaemia + ketones + feeling unwell.
- Signs to stop: nausea, vomiting, abdominal pain, rapid breathing, drowsiness or acetone on the breath.
- If you use a pump: with persistently high glucose, first consider infusion failure and use your backup plan (insulin pen) if necessary.
- Hydration: heat and exertion increase the risk of decompensation if you do not drink consistently.
Travel planning and frequent monitoring are emphasised in diabetes travel guidelines: changes in routine and climate can alter requirements and demand closer monitoring.
Feet, blisters and neuropathy: this is where the Camino is won (or lost)
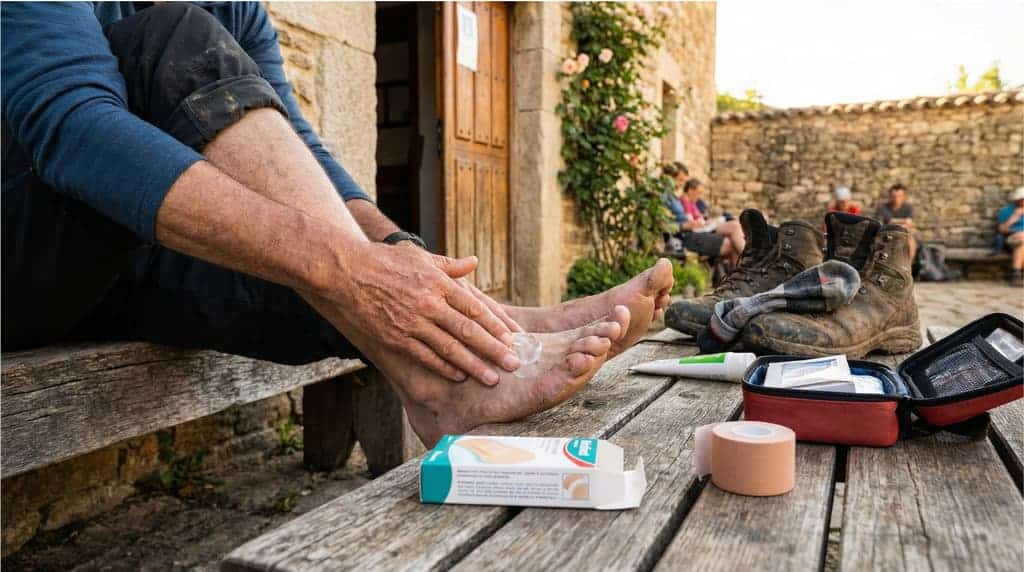
If there is one golden rule for diabetes + Camino, it is this: look after your feet as if they were your travel insurance. Many recommendations stress checking your feet daily, washing with lukewarm water, drying thoroughly (especially between the toes), moisturising without applying cream between the toes, and acting at the slightest wound.
Daily foot routine (5 minutes)
- Full visual inspection morning and night: heel, sides, toes, nails. If it’s difficult, use a mirror (ideally shatterproof).
- Look for: redness, blister, cut, warm area, swelling, oozing wound or unusual pain.
- Dry carefully (between the toes).
- Moisturise soles and instep, avoiding between the toes.
Blister prevention (pilgrim practice)
- Technical socks (no harsh seams, good moisture wicking). Carry 2 pairs for the stage if you sweat heavily.
- Spot a “hot spot” early: stop and protect it before it becomes a blister (specific dressing or tape).
- Well broken-in footwear: the Camino is not the place to wear new shoes.
- Do not walk barefoot, even in hostels, if you have neuropathy risk.
If you have a history of ulcers, previous amputation, advanced neuropathy or poor circulation, consider a route with shorter stages and more infrastructure, and consult a podiatrist before setting off.
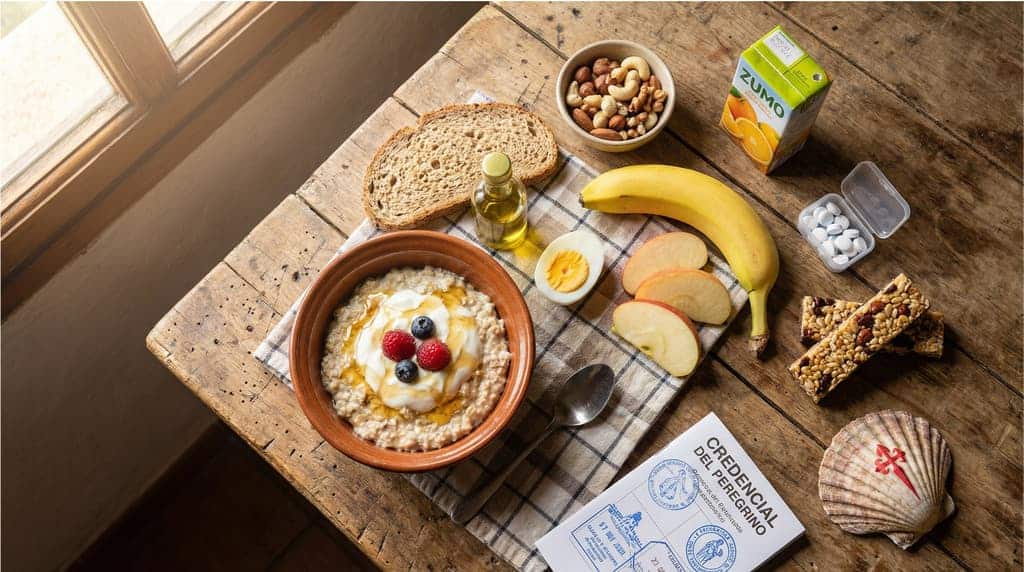
The goal is not to eat “perfectly”, but predictably. For most pilgrims with diabetes, breakfast is the greatest ally: if you start steady and with a plan, the rest of the day becomes easier.
Recommended breakfast (for stability + energy)
- Base of slower-absorbing carbohydrate: wholemeal bread/oats/plain yoghurt with fruit.
- Protein: egg, high-protein yoghurt, fresh cheese, turkey.
- Healthy fat: olive oil, nuts (small portion).
- Extra for a long stage: 1 additional piece of fruit or a small sandwich.
Smart snacks for the stage (not just “sugar”)
- Fast (hypo): gel, glucose tablets, small juice.
- Mixed (maintenance): oat bar + some protein, banana + handful of nuts, small sandwich.
If you would like a more general complementary guide on prevention and self-care (chafing, hydration, rest), we provide this and other health tips for the Camino de Santiago. At Mundiplus we help you strengthen habits that also have an impact on glycaemic control.
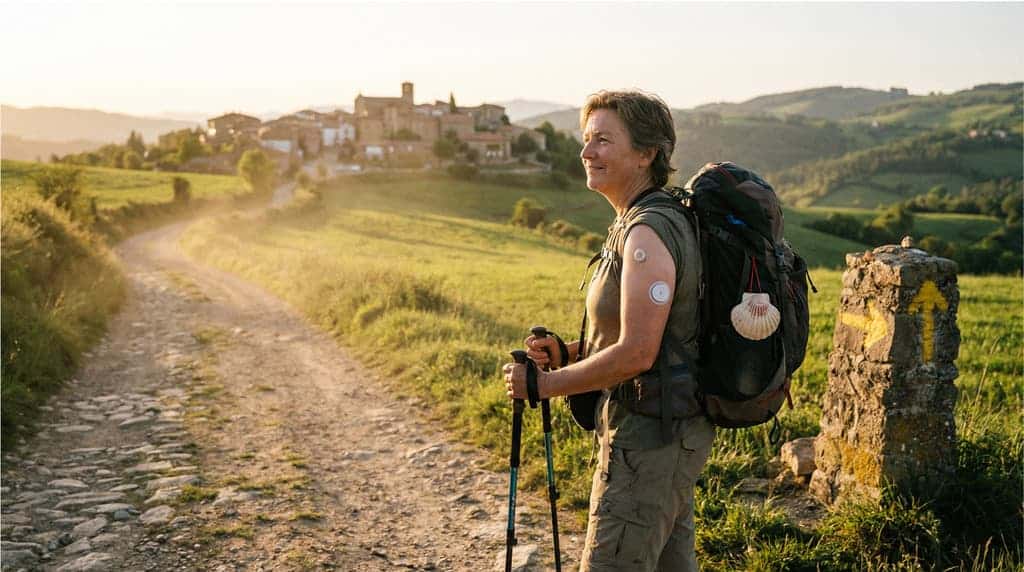
Which route to choose if you have diabetes: intensity, access and “easy living”
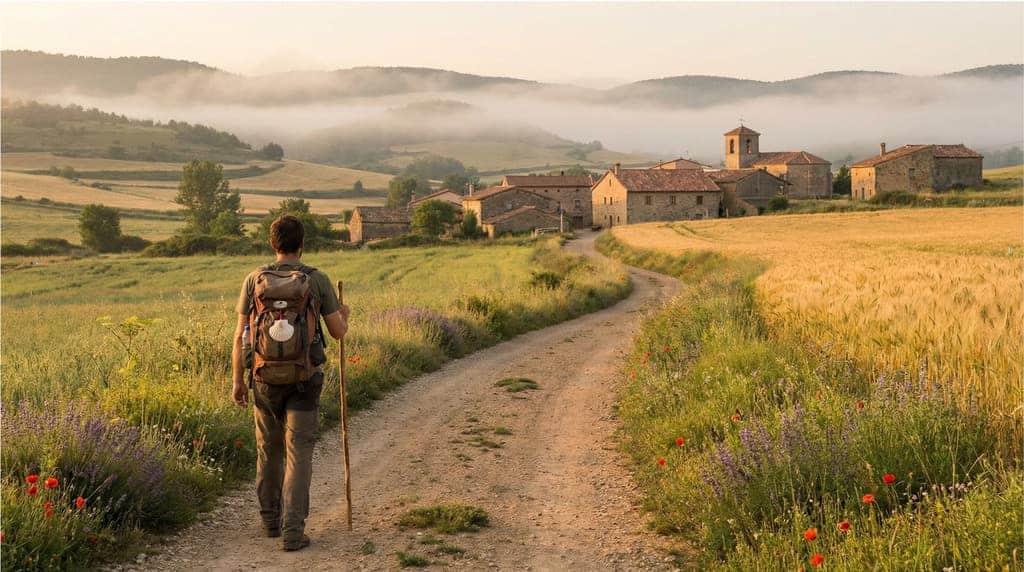
Diabetes does not force you to choose an “easy” route, but it is wise to prioritise: frequent infrastructure (cafés/shops), access to pharmacies, accommodation options and flexible stages. Walking in isolation is not the same as having stops every few kilometres.
Camino Francés: the most “user-friendly” in terms of infrastructure
If you are looking for maximum logistical peace of mind (more villages, more services, more options to shorten or lengthen), the Camino Francés is usually the most flexible choice.
- For example, the section of the Camino Francés from Logroño to Burgos allows you to plan stages with plenty of margin and easily find breakfasts/lunches and adjust stops.
- Likewise, the Camino Francés from Burgos usually offers many combinations to adapt the daily distance to your glycaemic response, especially useful in the first few days until you “calibrate” your body.
Camino del Norte: beautiful, but more physically demanding
The Norte is spectacular, but it can be tougher on the legs, with days where the terrain demands more. If you choose it, take a conservative approach: slightly shorter stages, more frequent checks and planned snacks. An example is the Camino del Norte from Gijón, which can work very well if you organise rest stops and avoid pushing a constant pace uphill.
The practical rule for choosing your route (and getting it right)
- If you have T1D with frequent hypoglycaemia or are fine-tuning a new pump/CGM: prioritise routes with more services and flexible stages.
- If you have neuropathy or a history of wounds: avoid stringing together long stages without a “plan B”.
- If you are travelling alone: prioritise routes with more pilgrims and more options for help along the way.
And if what you are looking for is an organised Camino to reduce uncertainty, at Mundiplus we can assist you with the logistical side (for example, selecting accommodation that allows you to rest properly and coordinating breakfasts/timings that are more predictable according to your plan), so that you can focus on walking and managing your glucose without added stress.
Technology (CGM/pump) on the Camino: how to make the most of it
- Set alarms properly: slightly lower your low-glucose alert threshold if you tend to have “rapid” hypos.
- Protect adhesives: sweat + rain + friction. Carry patches and hypoallergenic tape.
- Confirm with a finger-prick test if the sensor gives inconsistent readings (dehydration and nocturnal compression can distort values).
- Always have a Plan B: even if you use a pump, carry an insulin pen and alternative dosing plan in case the system fails. This is recommended in diabetes travel guidelines.
Warning signs: when to stop the stage (no pride involved)
- Repeated hypoglycaemia in the same morning despite eating and adjusting: slow your pace, extend rest breaks, shorten the stage and review your plan.
- Persistent hyperglycaemia + feeling unwell, vomiting or suspected ketones: prioritise medical attention.
- Foot wound with warmth, increasing redness or discharge: do not “push through”; treat, disinfect, offload pressure and seek advice.
Foot prevention depends on detecting changes early: daily checks and seeking help if redness, warmth or swelling appear are strongly emphasised.
Mini-FAQ (quick answers to common questions)
How many times a day should I check my glucose?
On the Camino, rather than “X times”, the correct approach is by moments: before setting off, during (every 60–90 min if you do not use CGM), on arrival and before bed. Travel guidelines recommend increasing frequency because routine and climate change.
What should I keep “within reach” for hypoglycaemia?
Something that doesn’t require much chewing and is measurable: glucose tablets, gel or a small juice. The 15–20 g approach is a widely used standard.
Can walking lower my glucose even hours later?
Yes. Prolonged exercise can increase insulin sensitivity and promote delayed hypoglycaemia. That is why checking before bed and making preventive adjustments are key.
How do I store insulin in hot weather?
Avoid direct sunlight, use an insulated pouch and do not leave it inside a car or overheated room. On short trips, many insulins tolerate controlled room temperature, but extreme heat is the enemy.
With diabetes, the Camino is not done “despite” the condition: it is done with strategy. If you set off with your medical plan, a well-thought-out kit, a stable daily routine and the humility to shorten a stage when necessary, your experience can be not only safe, but deeply enjoyable. The key is simple: less improvisation, more system.